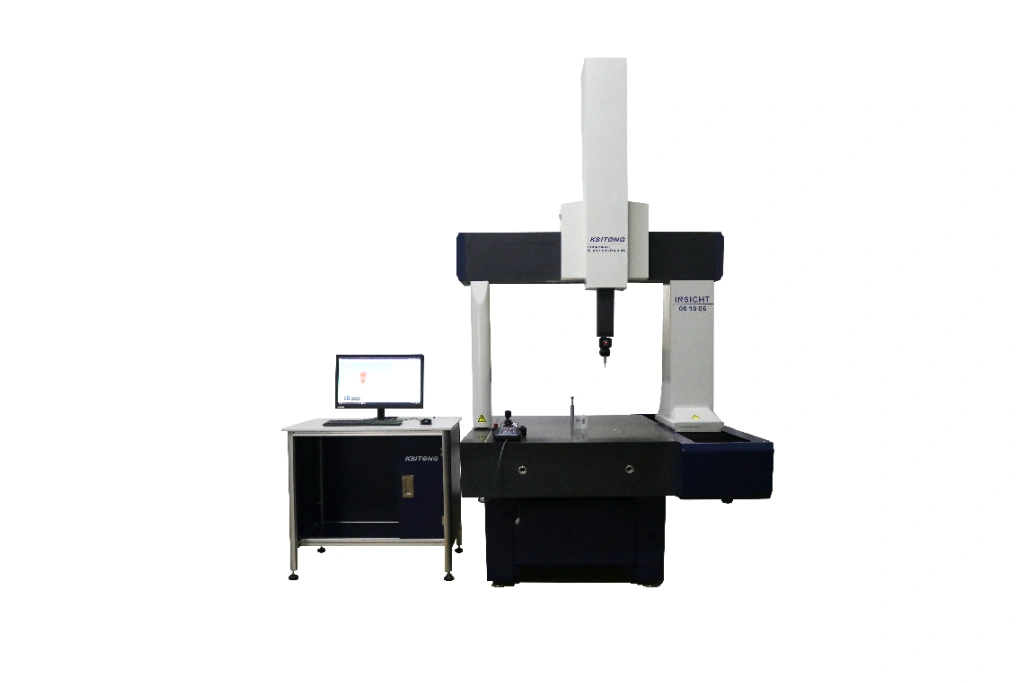
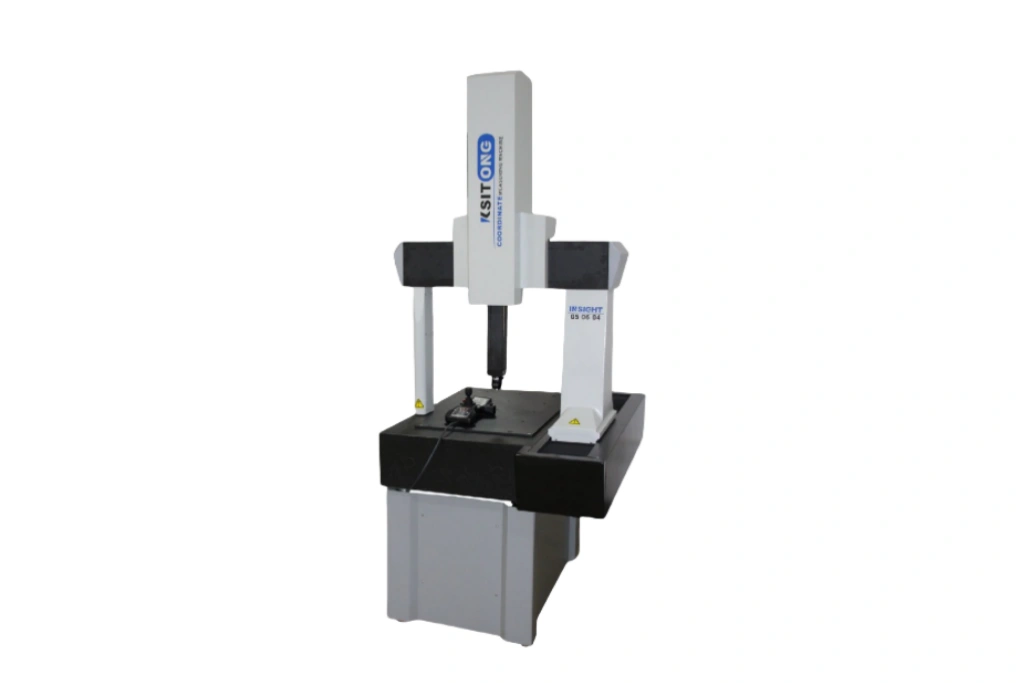
I. Introduction

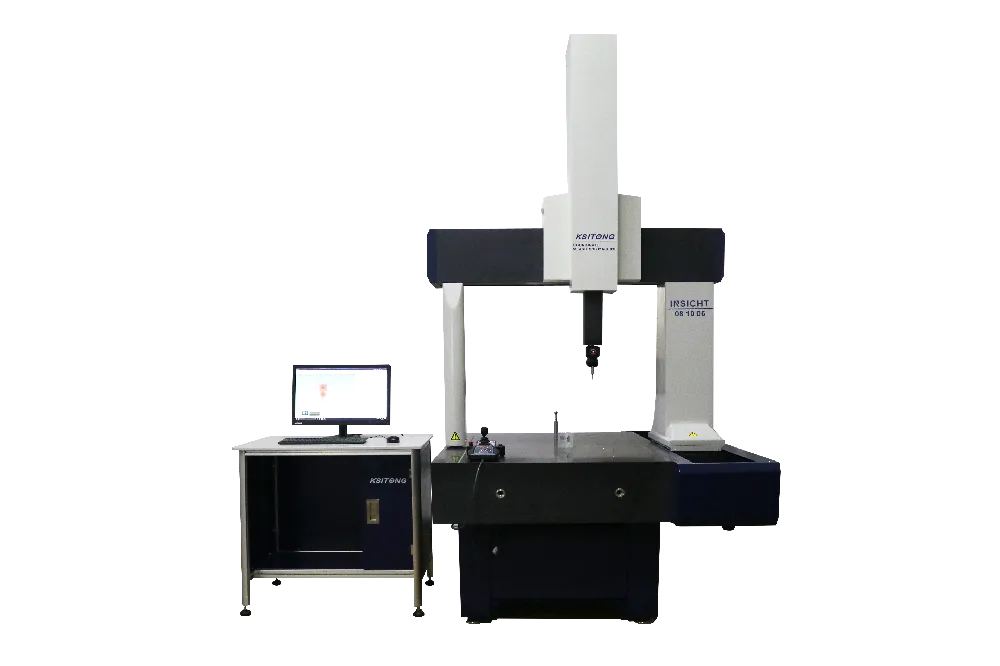
Insight series coordinate measuring machine is designed and manufactured by Suzhou ZENZON Precision Instrument Co., Ltd. By using advanced design concept, stable materials and process, as well as the controlling system, measuring probe and sensor from Renishaw, which is the best in the industry, ensures the dynamic performance and measurement accuracy of the machine.
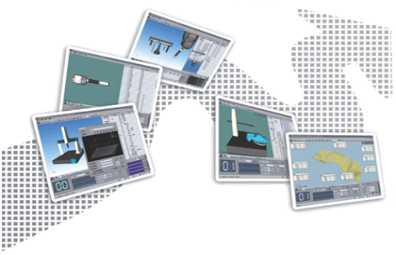
The measuring software is Rational DMIS, it’s well known in the industry for its fast calculation speed, advanced mathematical model, complete functions, intuitive operation and good stability. It can be widely used in the industry for first-piece inspection, final inspection, process and fixture inspection, process control, and reverse engineering applications.

| Data |
|---|
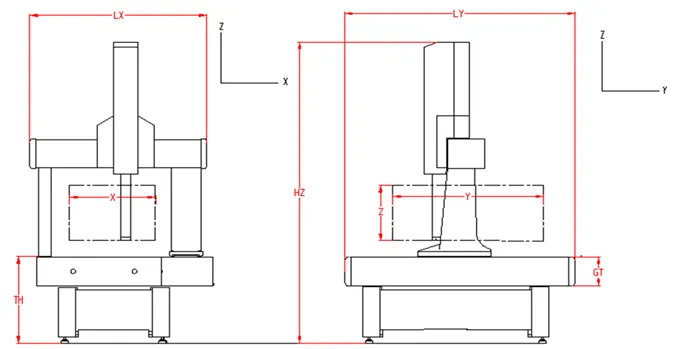
| Model | Machine Size | Travel | N.W | Workbench | Load | Maximum workpiece size | Pitch of M10 |
| | | | | H | T | | | |
| | Lx | Ly | Hz | X | Y | Z | STD | TH | GT | Max | X | Y | Z | X | Y |
| | mm | mm | mm | mm | mm | mm | kg | mm | mm | kg | mm | mm | mm | mm | mm |
| Insight-564 | 1060 | 1360 | 2270 | 500 | 600 | 400 | 750 | 800 | 230 | 800 | 620 | 1100 | 400 | 160 | 200 |
| Insight-686 | 1320 | 1690 | 2750 | 600 | 800 | 600 | 1300 | 800 | 270 | 1000 | 750 | 1420 | 600 | 160 | 200 |
| Insight-8106 | 1520 | 1890 | 2750 | 800 | 1000 | 600 | 1950 | 800 | 270 | 1000 | 950 | 1620 | 600 | 200 | 200 |
| Insight-10128 | 1720 | 2090 | 3150 | 1000 | 1200 | 800 | 2500 | 800 | 270 | 1200 | 1150 | 1820 | 800 | 200 | 200 |
| Insight-121511 | 2160 | 2850 | 3800 | 1200 | 1500 | 1100 | 5800 | 700 | 400 | 2000 | 1360 | 2500 | 1100 | 200 | 200 |
| Performance: |
|---|
| Model | TP20 | TP200 | Max Velocity | Max Acceleration |
| | MPEE | MPEp | MPEe | MPEp | | |
| | um | um | mm/s | mm/s2 |
| Insight-564 | 2.4+L/300 | 2.4 | 2.2+L/300 | 2.2 | 600 | 600 |
| Insight-686 | 2.6+L/300 | 2.6 | 2.4+L/300 | 2.4 | 500 | 500 |
| Insight-8106 | 2.6+L/300 | 2.6 | 2.4+L/300 | 2.4 | 500 | 500 |
| Insight-10128 | 2.8+L/300 | 2.8 | 2.6+L/300 | 2.6 | 400 | 400 |
| Insight-121511 | 3.0+L/300 | 3.0 | 2.8+L/303 | 2.8 | 300 | 300 |
| Customized dimensions: |
|---|
| Customization | Basic Models |
| | Insight-564 | Insight-686 | Insight-8106 | Insight-10128 | Insight-121511 |
| X Range | ≤600mm | / | ≤1000mm | / | ≤1350mm |
| Y Range | ≤1000mm | ≤1000mm | ≤1500mm | ≤1500mm | ≤2500mm |
Measuring Software
Rational DMIS CMM software is developed in strict accordance with industry standards to ensure the versatility of the program and the interchangeability of the hardware control system,which truly saves cost and improves efficiency for users. The standards include DMIS, I ++ protocol and PTB certificate, these represent advanced design concepts and future development trends in the coordinate metrology industry
1. High operating efficiency:
The traditional menu-pop-up style operation is outdated, for its steps are complex and not easy to be remembered, and it will cause redundancy on the interface.
Drag-and-drop type operations and touch type operations are becoming mainstream in the market, with features such as clean interfaces, easy operation, simple steps, and high efficiency.
2. Seamless connection with CAD:
CAD files are becoming more and more common, from product design, to mechanical processing and testing part, truly achieving synchronization and data sharing. CAD object-based programming: Automatic identification of digital and analog theoretical elements and rapid creation of measurement programs, making the programming of parts easy and fast.
3. Intelligent and powerful:
a) Advanced software platform:DOS, VB technology is outdated. VC technology and modular design have become the mainstream, and the software has the characteristics of being easier to expand and update, meanwhile minimizing the steps of new function implementation and maximizing the calculation speed.
b) With conventional functions such as intelligent measurement, collision detection, path simulation, and scanning probe extension.
4. Diversified output reports:
Standard: text reports, graphic reports, Form reports.
Support PDF, HTM, XML, XLS, DMO, OUT and other output formats.
Support serial port output directly, can send instructions to the lower computer, convenient for 2nd development.
Support user-defined output templates and call existing templates.

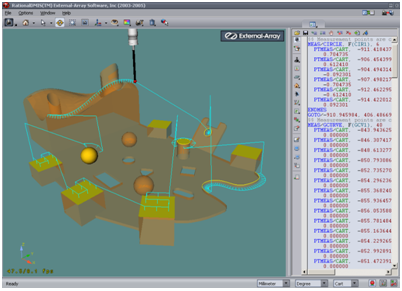
Real time graphical display
—— Functions such as path simulation, collision detection, and measurement planning improve the maneuverability and predictability of measurements. Makes the operation safer and reduces the risk of hardware damage due to misuse or lack of experience.
Real time graphical display
—— From the establishment of the machine model, to the creation of the probe, calibration, measurement, construction, tolerance, and output are all graphically displayed.
